Overview
The window menu provides you with the ability to manage the windows that you want to see, and what type of window it is.
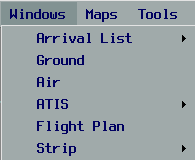
When you move a window around on your screen, it’s position is persisted by vatSys and it should open up in the same location next time you start the application.
Arrival List
The Arrival List window allows you to see the FDR’s that are inbound to the selected airport. You can open an arrival list for any airport by selecting Arrival List -> Open New and then enter the ICAO code in the field and press ENTER on your keyboard. It is possible to open multiple arrival lists.
The arrival list will open with all arriving aircraft appearing above the blue separator (see below).
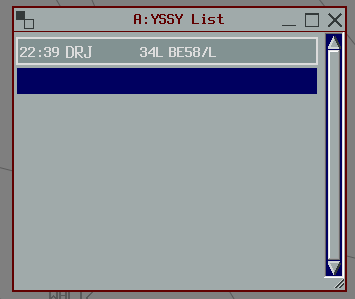
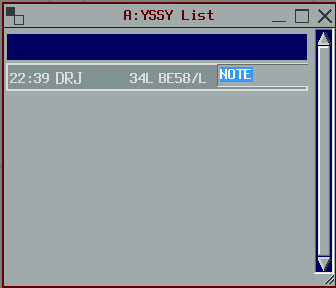
This list is typically used by a flow controller to show the arrival sequence into an airport, however you can click and drag the FDRs in the list into any order you wish. The arrival list takes into account the flight plan track, so the ETA for landing will be inaccurate until an appropriate STAR has been assigned in the FDR. By clicking on the RHS of the strip, notes can be added by the flow controller (more information about this is covered in Tips). These notes can also be adjusted in the flight plan strip (Jurisdiction Window).
All notes, and the order of FDRs in the arrival list are synced between vatSys clients.
Ground Window
The Ground Window will enable you to see all traffic on the ground that is being picked up by the Surface Movement Radar (SMR) at an aerodrome. This radar requires that an aircraft transponder be Mode C at all times when the aircraft is moving and just prior to pushback. The Ground Window can be rotated as if being viewed from the position of the real-world tower (this is at the discretion of the data provider).
You can pick which aerodrome you want to view, by selecting the ICAO code from the dropdown list. It is possible to open multiple ground windows.
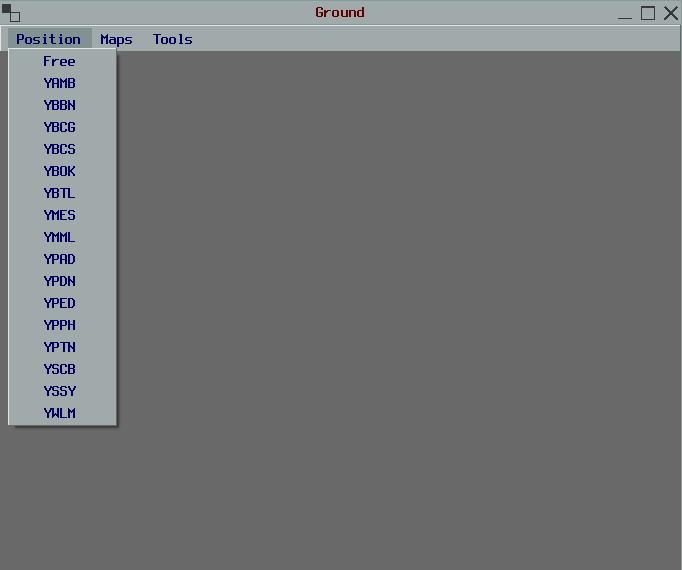
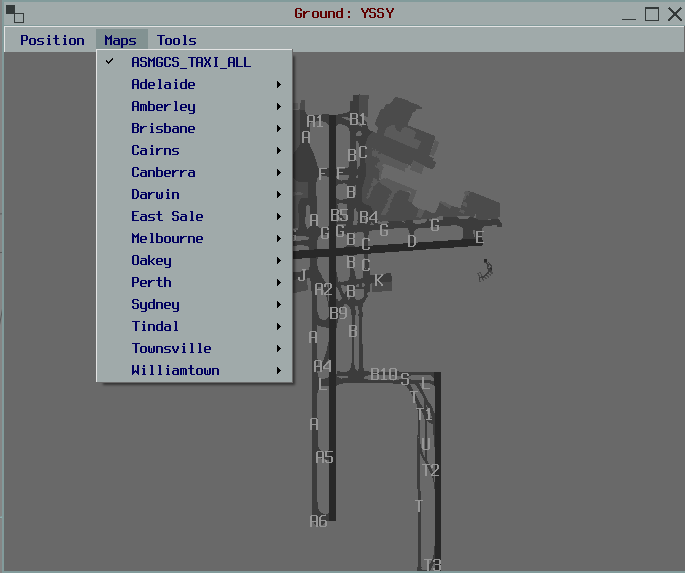
If taxiway designators have been defined, they can be viewed by selecting the menu item in the list.
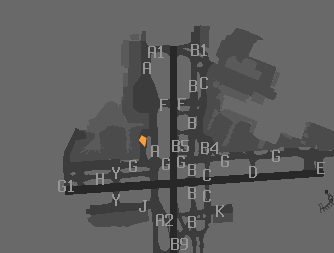
If an aircraft is not squawking Mode C or the assigned code, it will show as an orange diamond.
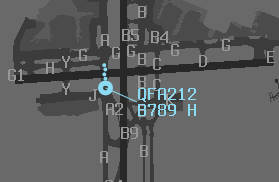
If the aircraft is squawking mode C and the assigned code, it will show the callsign.
Overflying aircraft will show on the SMR as purple tracks.
Air Window
The Air Window allows you to open additional Air Situation Displays (ASD). Select what position you want to view from the dropdown, and make any normal adjustments to maps (see map documentation). It is possible to open multiple ASDs.
ATIS Window
The ATIS Window is where all ATIS management is conducted.
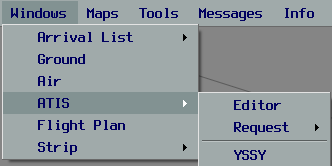
To edit or create an ATIS, click Editor. This will open the ATIS Editor Window.
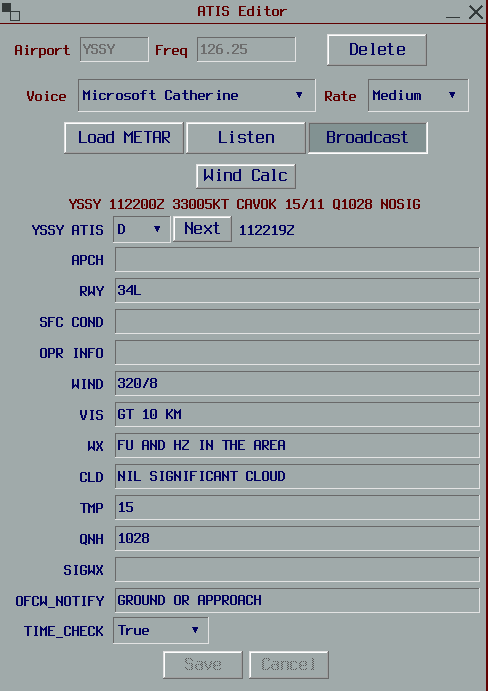
Start by typing the ICAO code of the aerodrome for which you wish to open an ATIS. The frequency (if defined in the data profile) will automatically populate. Click Create.
Select the voice you wish to broadcast with, the rate (medium is standard) and if the METAR hasn’t loaded, click Load METAR. Enter the ATIS data with appropriate abbreviations - these can be defined in the profile by your division and would be found in your local Manual of Air Traffic Services.
Clicking the next button, increases the ATIS letter identifier to the next letter.
Click save, to persist your ATIS. Click listen, to preview your ATIS.
Once ready, click broadcast to play your ATIS on VATSIM.
The wind calc window allows you to determine a crosswind component (if applicable).
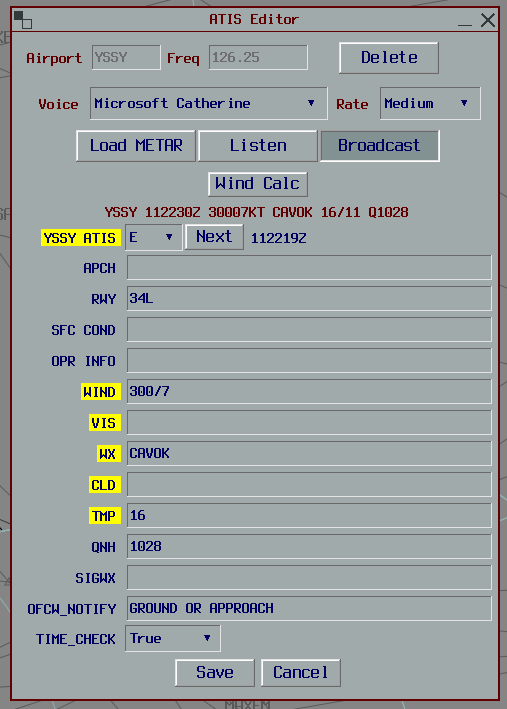
vatSys will always be listening for new METAR updates. If a new METAR is detected with changes, you will hear a DONG DING and the ATIS window will flash yellow.

Applicable changes will be highlighted yellow and the ATIS will automatically increase the letter identifier. If you want to accept the changes, click save and broadcast. If you don’t want to accept the changes, click cancel, and the ATIS will remain the same.
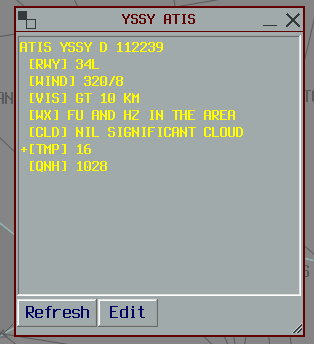
To view your ATIS (or other ATIS), under the Window Menu, click ATIS -> Request and then type the ICAO code of the airport. The ATIS window will open and display the current ATIS in text format. This will automatically update and show any ATIS changes with a + prior to the information.
Flight Plan Window
The flight plan window allows you to create and edit flight plans. You can search for flight plans by typing the callsign and pressing RETURN on your keyboard. You can also create a flight plan for a user, if they have not done so.
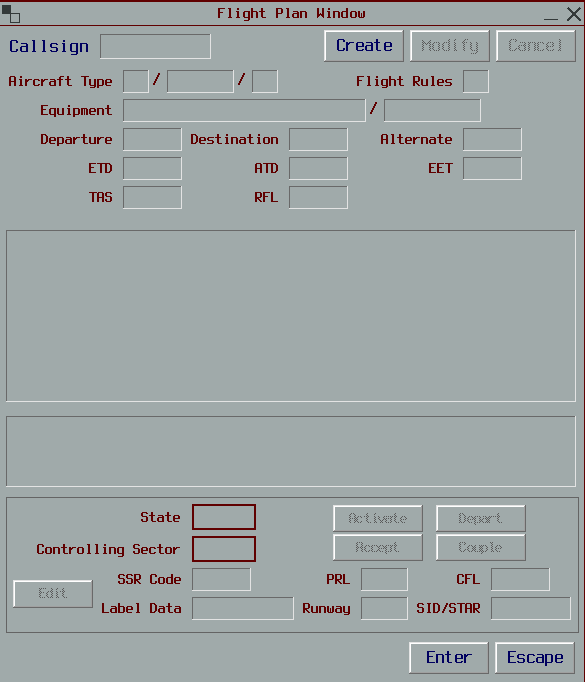
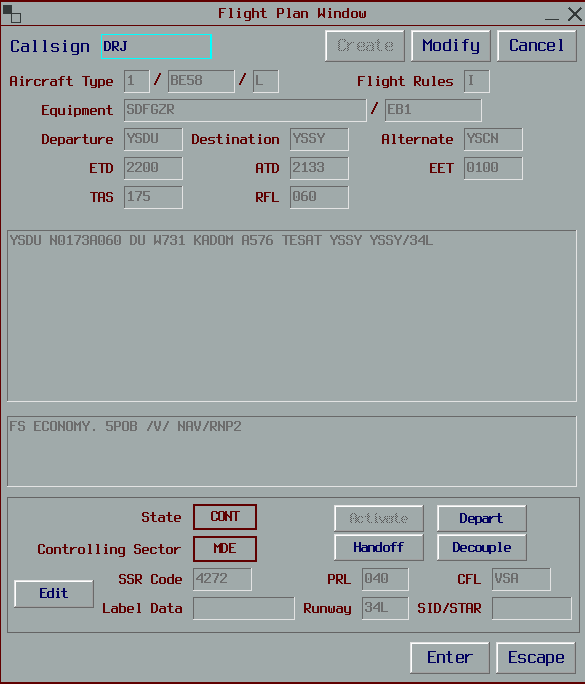
The flight plan window will become populated if you search for a valid callsign, or click to view the flight plan from the on-screen tag.
If you need to modify the flight plan through this window (which is not preferable but sometimes required), then click modify and you will be able to edit all of the fields. Once modifications are completed, press RETURN to persist the changes.
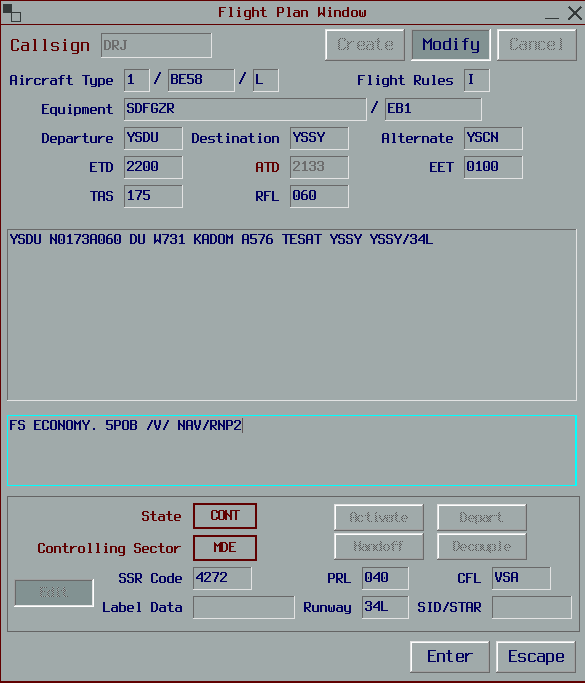
You will also be able to edit items like CFL, runway, SID/STAR, view the ownership/state of the flight plan and activate/deactivate/depart the FDR.
Strip Windows
Individual strip windows may be opened using these menu items.
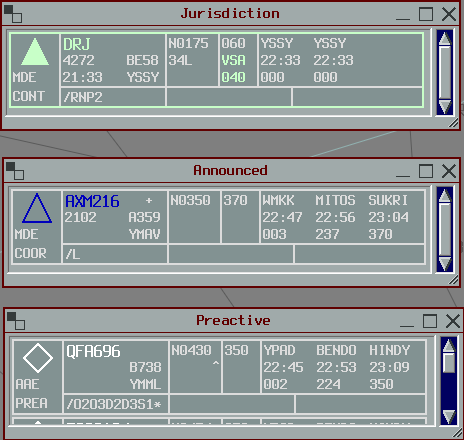
Strips are explained here.
